
Ionic Chiton
When I was an undergraduate, several of the lecturers insisted that the smaller weights found in classical archaeology were buttons used to fasten the chiton.
All these lecturers, august though they were in their own fields, were men, and none had any pretentions to know the first thing about textiles. Personally I always looked at them and thought “small spindle whorls”
Yes, I know its and established fact that late classical/hellenistic art tended to exaggerate drapery for artistic effect, but it is still possible to achieve some of the swagger seen in sculptural drapery.
The technique shown here is based on that proposed in Alex Croom’s book, “Roman Clothing and Fashion” I’ve been using it for years and find it works very well. I have tried the other method of using actual beads etc as buttons, but found that not only did it drape incorrectly, but the buttons kept coming undone and were a nuisance.
The Chiton shown here is rather pale because it’s going to be an under dress for the Roman dress I made last week, but I use exactly the same construction for the chiton I wear when presenting the Ancient Greeks (I do like to have two separate chitons though, mainly to stop me getting bored) I used linen because I need to wash it regularly, but it works very very well with a soft wool challis.
Start with a piece of fabric long enough to go from one wrist to the other and back again – about 3 metres – and sew it into a tube. The width of the fabric will be the length of the chiton. Unless you are either exceptionally tall or very very wee, you shouldn’t need to shorten the fabric because any excess length will gather into you belt – in fact you’ll find it does it automatically as soon as you move your arms.
 First you need to mark your contact points. Leave a generous allowance for the arm (you need to be able to move it) and allow enough room in the middle to let your head through. I like to use paper clips rather than pins, as I find they are less likely to fall out when holding two pieces of fabric together, and also I can’t stab myself on them. (I’m clumsy that way, so practice hazard avoidance)
 If you’re having three “buttons” on each side, start with one of the outer ones – do the one near the sleeve, then the neck, and do the central one last so you can get it nicly centred. It’s best not to remove the paper clip until you’ve done the first stitch to mark your place.
 Whip stitch the two edges together along where you want your “button” to be. I find that roughly two inches is about right.
 Next do a circle of running stitch using the whip stitch join as a diameter. Don’t worry if it isn’t a perfect circle, because once you finish it won’t really be noticeable.
 Pull the running stich tight to gather the fabric into a little puff. Be careful not to pull to tight and snap the thread, but pull as tight as you can. Anchor the thread at the base of the puff so it can’t slip. This puff forms your “button”
 Wrap your thread two or three times around the base of the puff to pull it tighter, then anchor it again before taking the needle through to the underside of the puff – inside the garment.
 Flatten the puff, or “button” with your thumb, and bring a couple of stab stitches through to keep it flat before anchoring the thread at the back to finish.
 You might find that if you use linen, as I have here, that it’s a bit too stiff to gap prettily between the “buttons” until you wash it once or twice, but you can already see that the drapery has begun to fall nicely. When you use linen for a chiton in this style you do find it looks better with a little wear.


One of the reasons that experimental archaeology is so interesting is the way unexplained fragments can sometimes spring into focus with the new viewpoint
croom’s technique makes perfect sense once you see it in action. I think its easy for some myths to get perpetuated by academics because they relate to things outside thier immediate disciple, specially in textiles, which has long been the poor cousin
Can you post a piccy of the finished product?
didn’t have space to take one, hose is too ntidy to get a good angle
Beautiful! I love this solution to the popping button puzzle,
it does work an awful lot better
That’s really pretty! I’m an ancient history/archaeology student too and I think I’ll be doing some dressing up this year for various museum/classics events, so I might just use this!
it doesn’t take more than an hour to make
You never cease to amaze me.
its not my technique – andn its dead easy, but thanks
Hi, I read through your blog and I must say your work is quite amazing. I’m a 20 year old swedish girl and I love, as you, getting my hands dirty making historical outfits. And I will be following this blog from now on 🙂
In the embroidery section I haven’t really started with historical ones, but i wish to. Got any tips? I saw that wodden frame you put up that giant antip..something, Is that something one should get? I have studied textiles/modern clothing making/pattern drafting and have had a huge crafting and historical interest since I was a child – funnily enough I got hooked on cross-stitching instead, think it’s moms fault (she did it alot)
HI
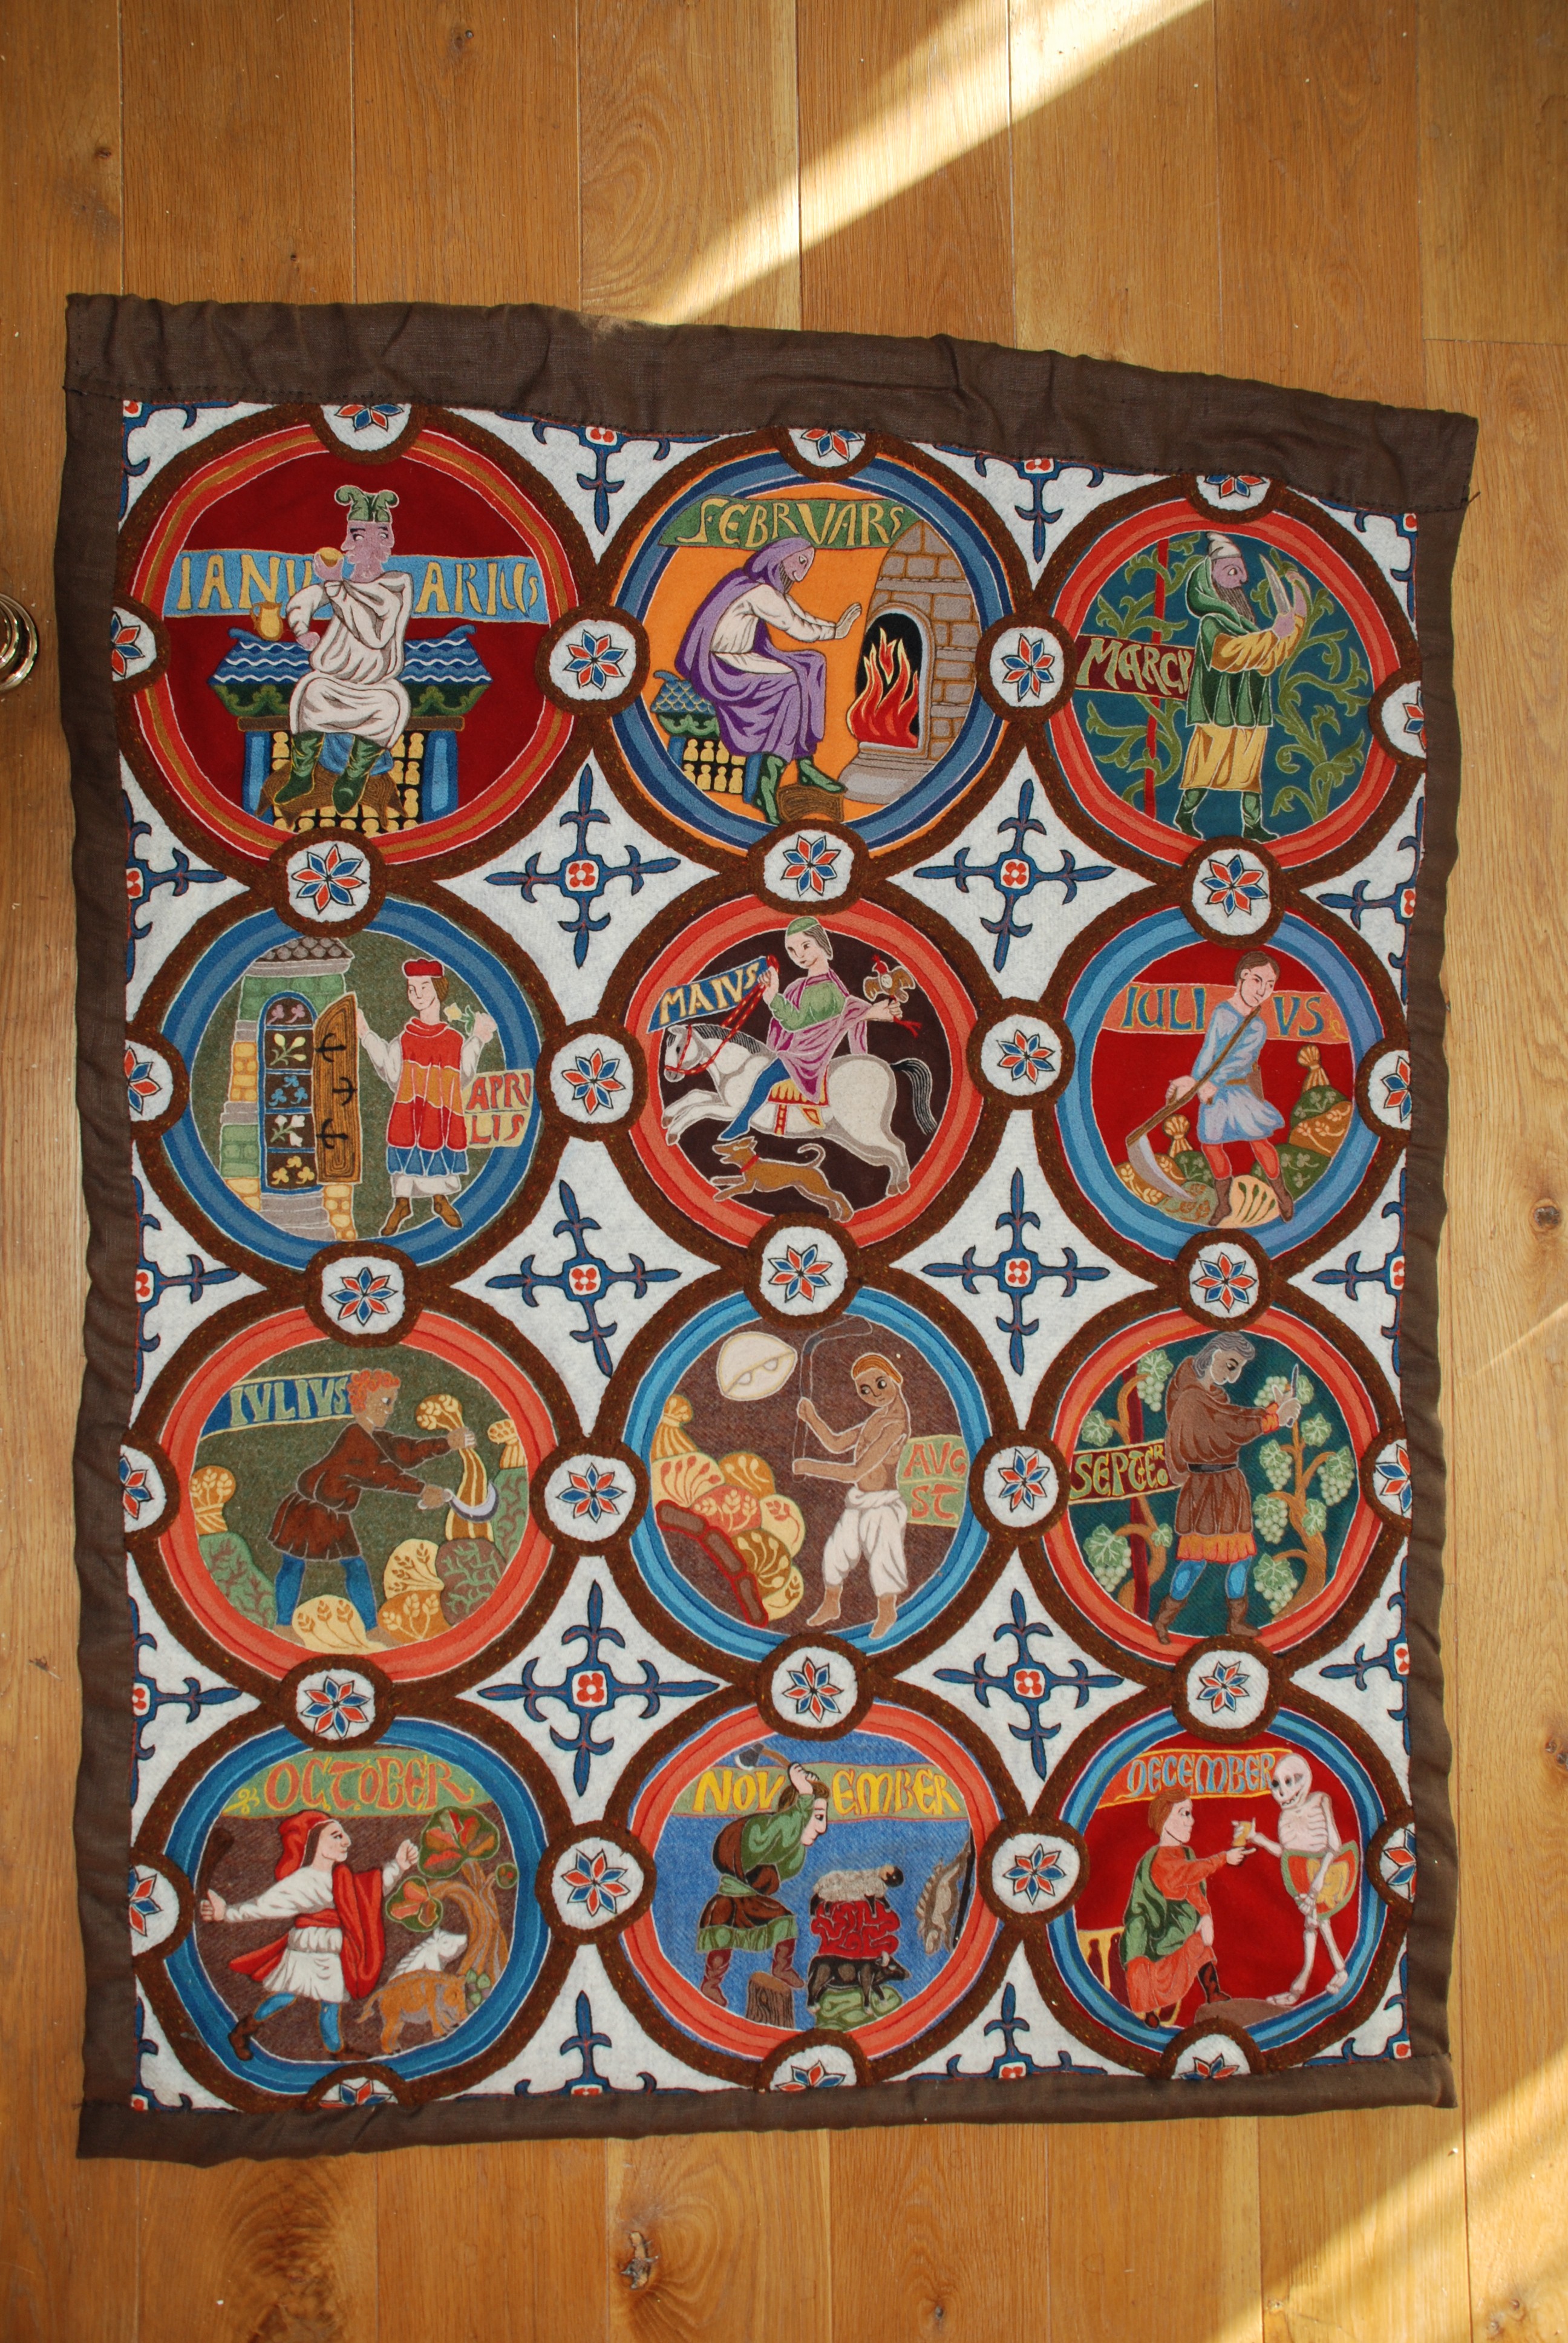
whether or not you need a big frame like mine depends on what kind of embroidery you plan to do. laid and couched work, the stitch used for the main body of the antependium, is quite quick and easy (in fact theres a post a few months back explaining how to do it, and it was used a lot in scandinavia – the antependium is based on an icelandic one) but it does need to be done under tension. However there are smaller, cheaper frames, like slate frames or hoops, that you could start with to see if you like the technique – i like my big frame as it has legs and that leaves your hands more free as you dont have to hold the frame.
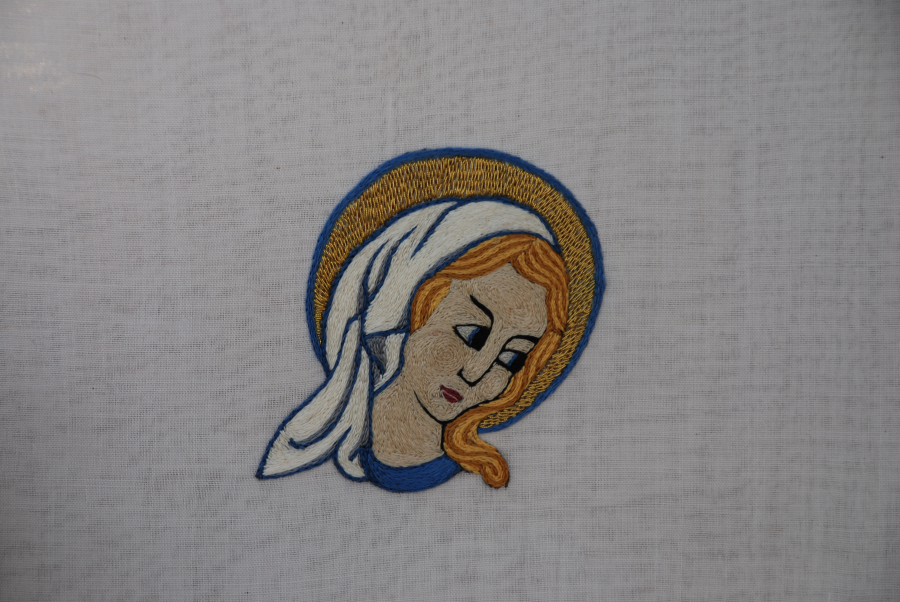
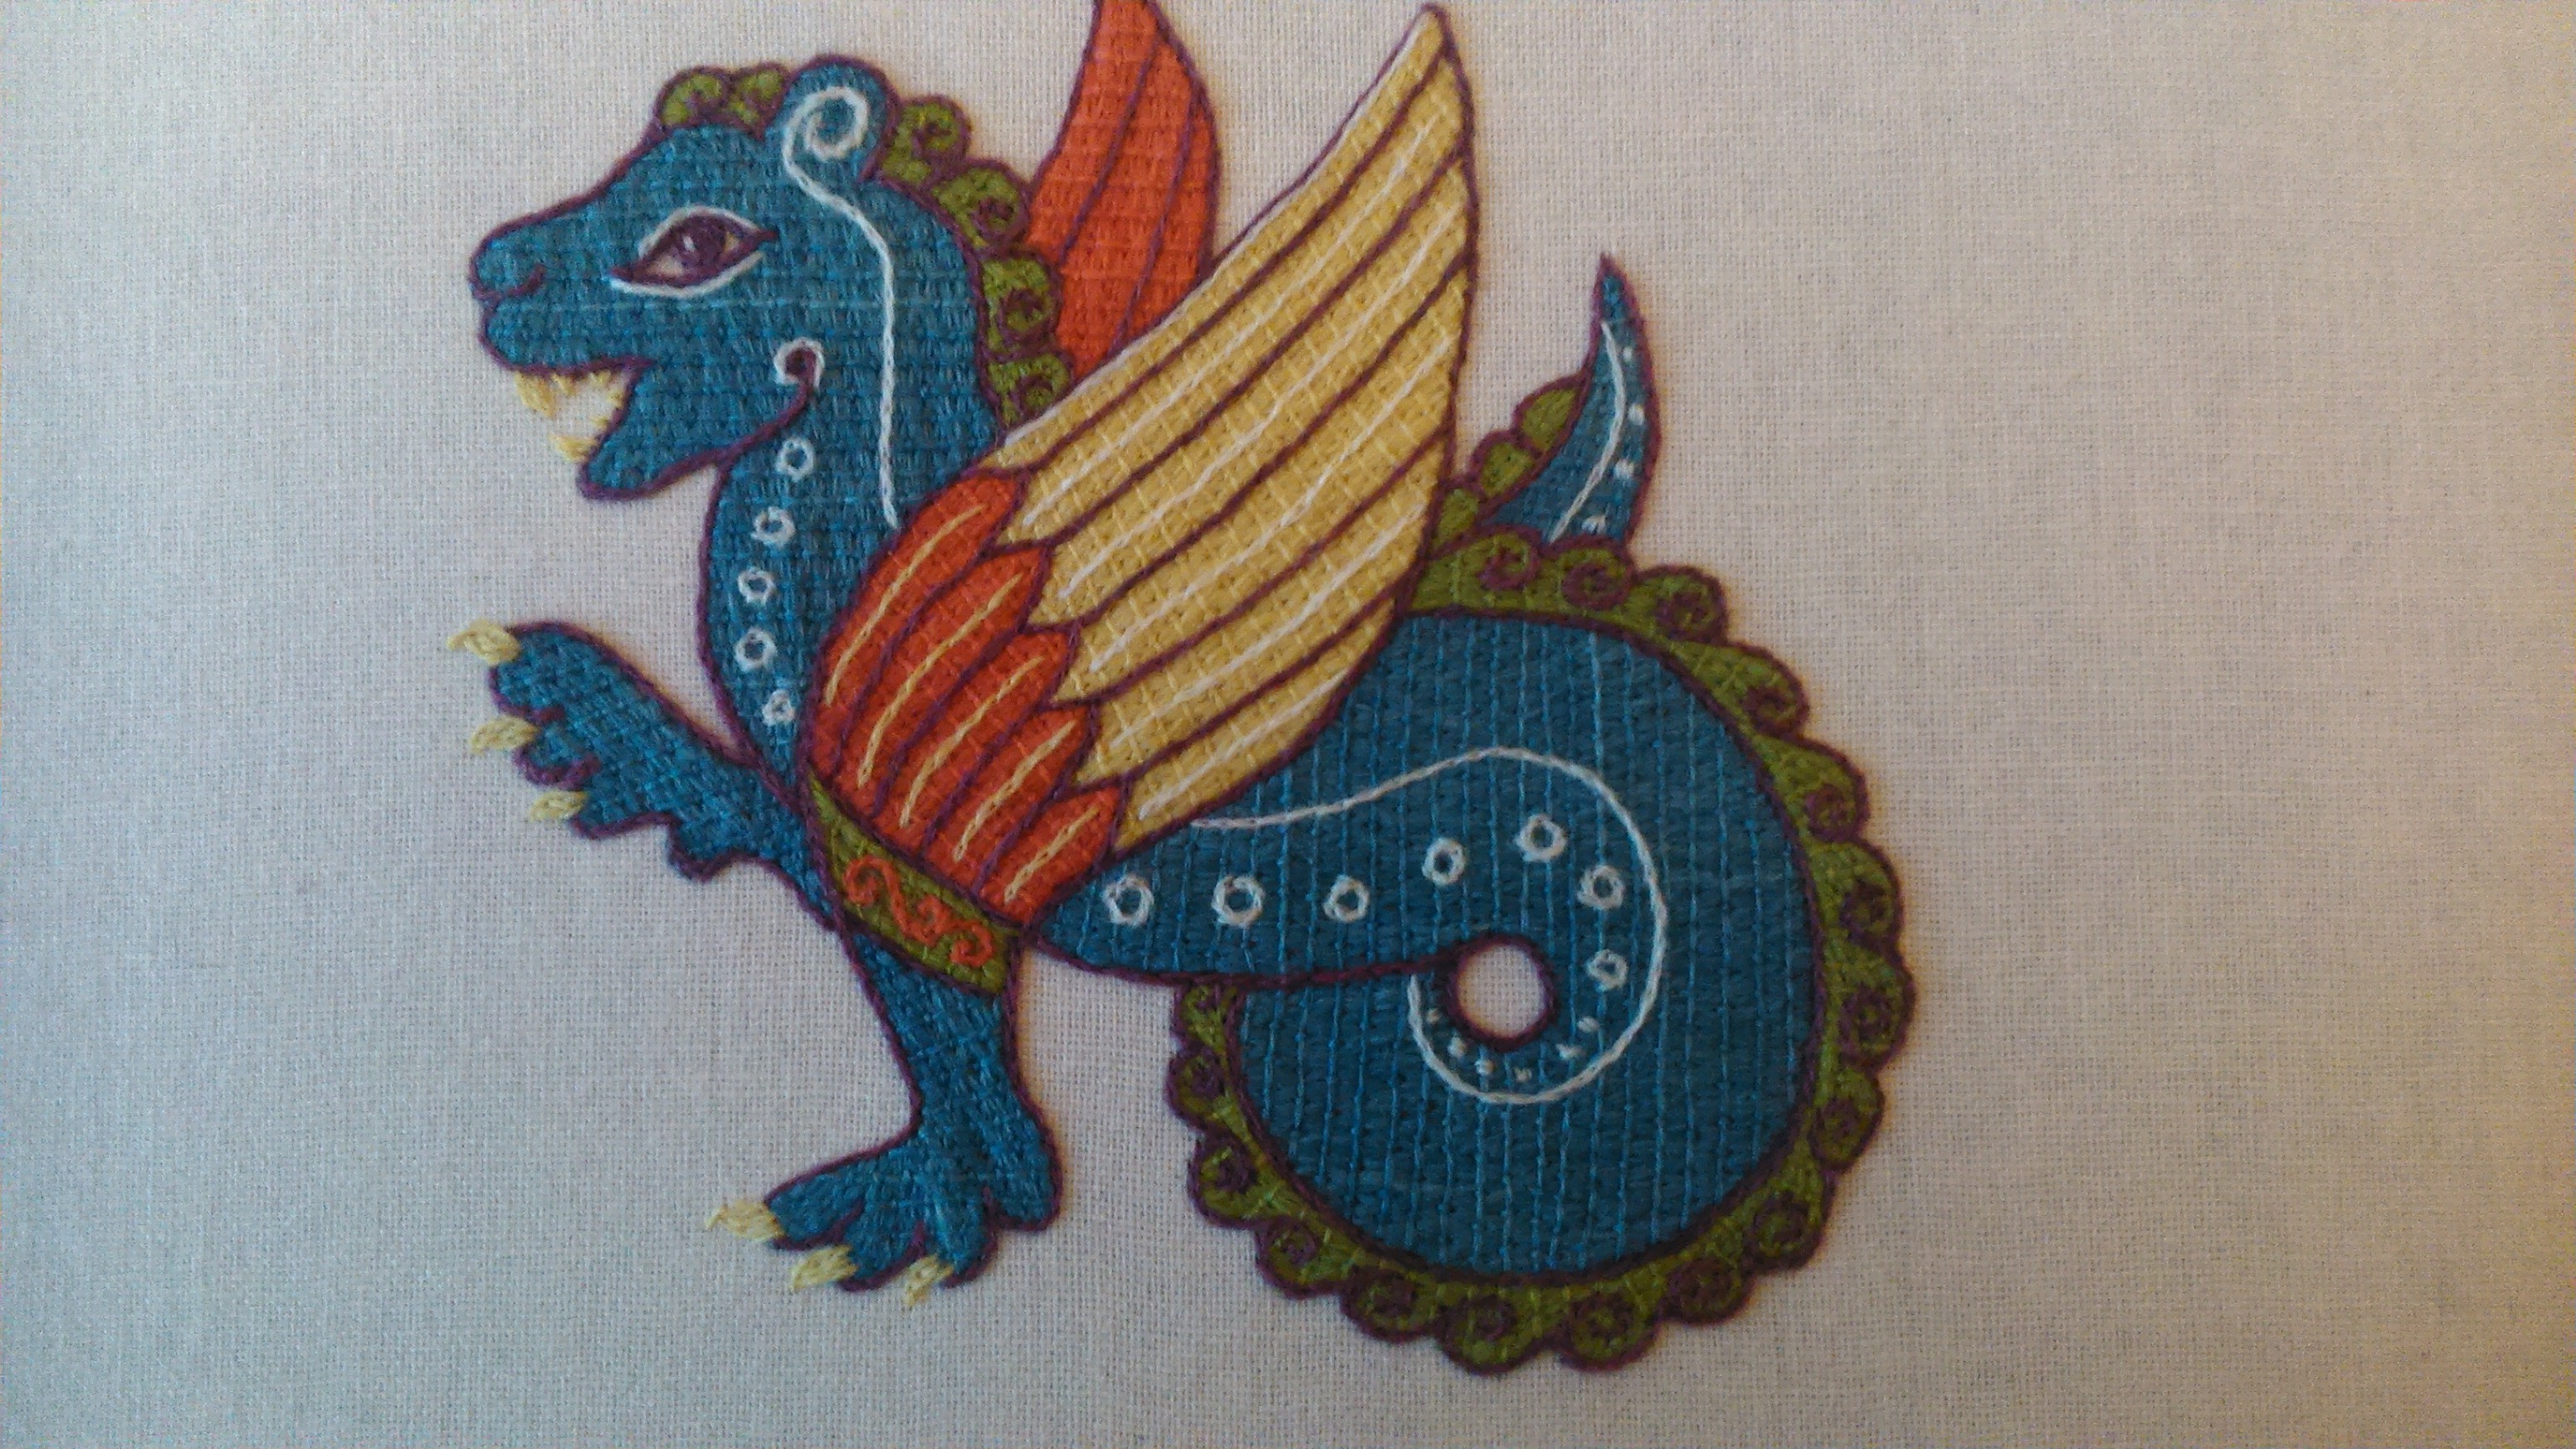
some of the most basic medieval stitches though don’t necessarily need a frame at all. split stich, which I’m using for the wool labours of the months, and which I used for the christmas project of the lovers in the garden, can happliy be done without any sort of framae (the labours of the months lives screwed up and abused in my handbag) although you may find that when you finish and wash it you may want to stretch it back into shape a bit. stem stitch, used for the mammen cloak, is very similar and also easier to work without a frame. its really a matter of personal preference – you shouldn’t let anyone tell you you have to use a frame or not, its best to experiment and find out whats best for you
Hi – I’ve been reading your blog for a while now, and am amazed and astonished by your work. 🙂 I know I’ve seen you on the Historic Embroidery group on facebook, but can’t find you right now.
I also run a blog called StitchingwithaShimmy, and I have a “Monday Treasures” feature. I’d love to feature you and your work. Could you email me to discuss it if you are interested?
romilly at goldencircledesigns dot com
Thanks! 🙂
thank you, I’ve mailed you privately
Very cool technique, thank you.
you’re welcome
[…] me convencían ni los imperdibles ni sujetarlo sólo con dos fíbulas; así que con ayuda de este tutorial de Opusanglicanum le he añadido unos “botones”. Esta técnica sale del libro […]