
Stitchalong, assembly
First trim away your excess fabric on both pieces. You want about an inch and a half sides and bottom, but a good four or five inches at the top.
Place your embroidered sides together. Knot and trim your tassel cords to about an inch in length, and pin them in between/inside the embroideries.
use as many tassels as you want. It’s very medieval to have three or four along the bottom and a few up each side. I’m using two because I’ve been too busy making Christmas presents.
Next take two longish fingerloop braids, and place the messy ends inside the centre bottom of the purse.

I like to start sewing from the middle outwards as this anchors the braids and tassels as quickly as possible and avoids the chance of pins coming loose. Make sure to put a couple of strong stitches right through the centre of each knot or cord to hold it firmly.

Sew up each side to a few inches from the top.

Then roll the four topside edges and anchor then with either running or hem stitch. I prefer running as it goes flatter.

Fold the two tops over until they’re even. You want two wide tubes.

Anchor each tube along the lower edge with double running stitch.
next take your lining fabric and cut it to the same size as the purse- you can do two separate pieces, a fold along the side, or a fold along the bottom- whatever works best for the fabric you have.

If you’re using the wool from the kit, you may find the lining shows through as the wool is quite sheer, so it’s best to add a white interlining.( I didn’t include the interlining in the kits because you can use any scraps you have lying about, I’m using a good bed sheet that a certain furry person clawed a big hole in).
fold your lining pretty sides together, and wrap the interlining ( if using) around the outside before sewing together.
reduce the bulk along the seam by trimming the interlining quite close to the seam.

Turn your purse the right way out.

To sew down the braids anchor your thread to the inside seam, then bring it through the seam.
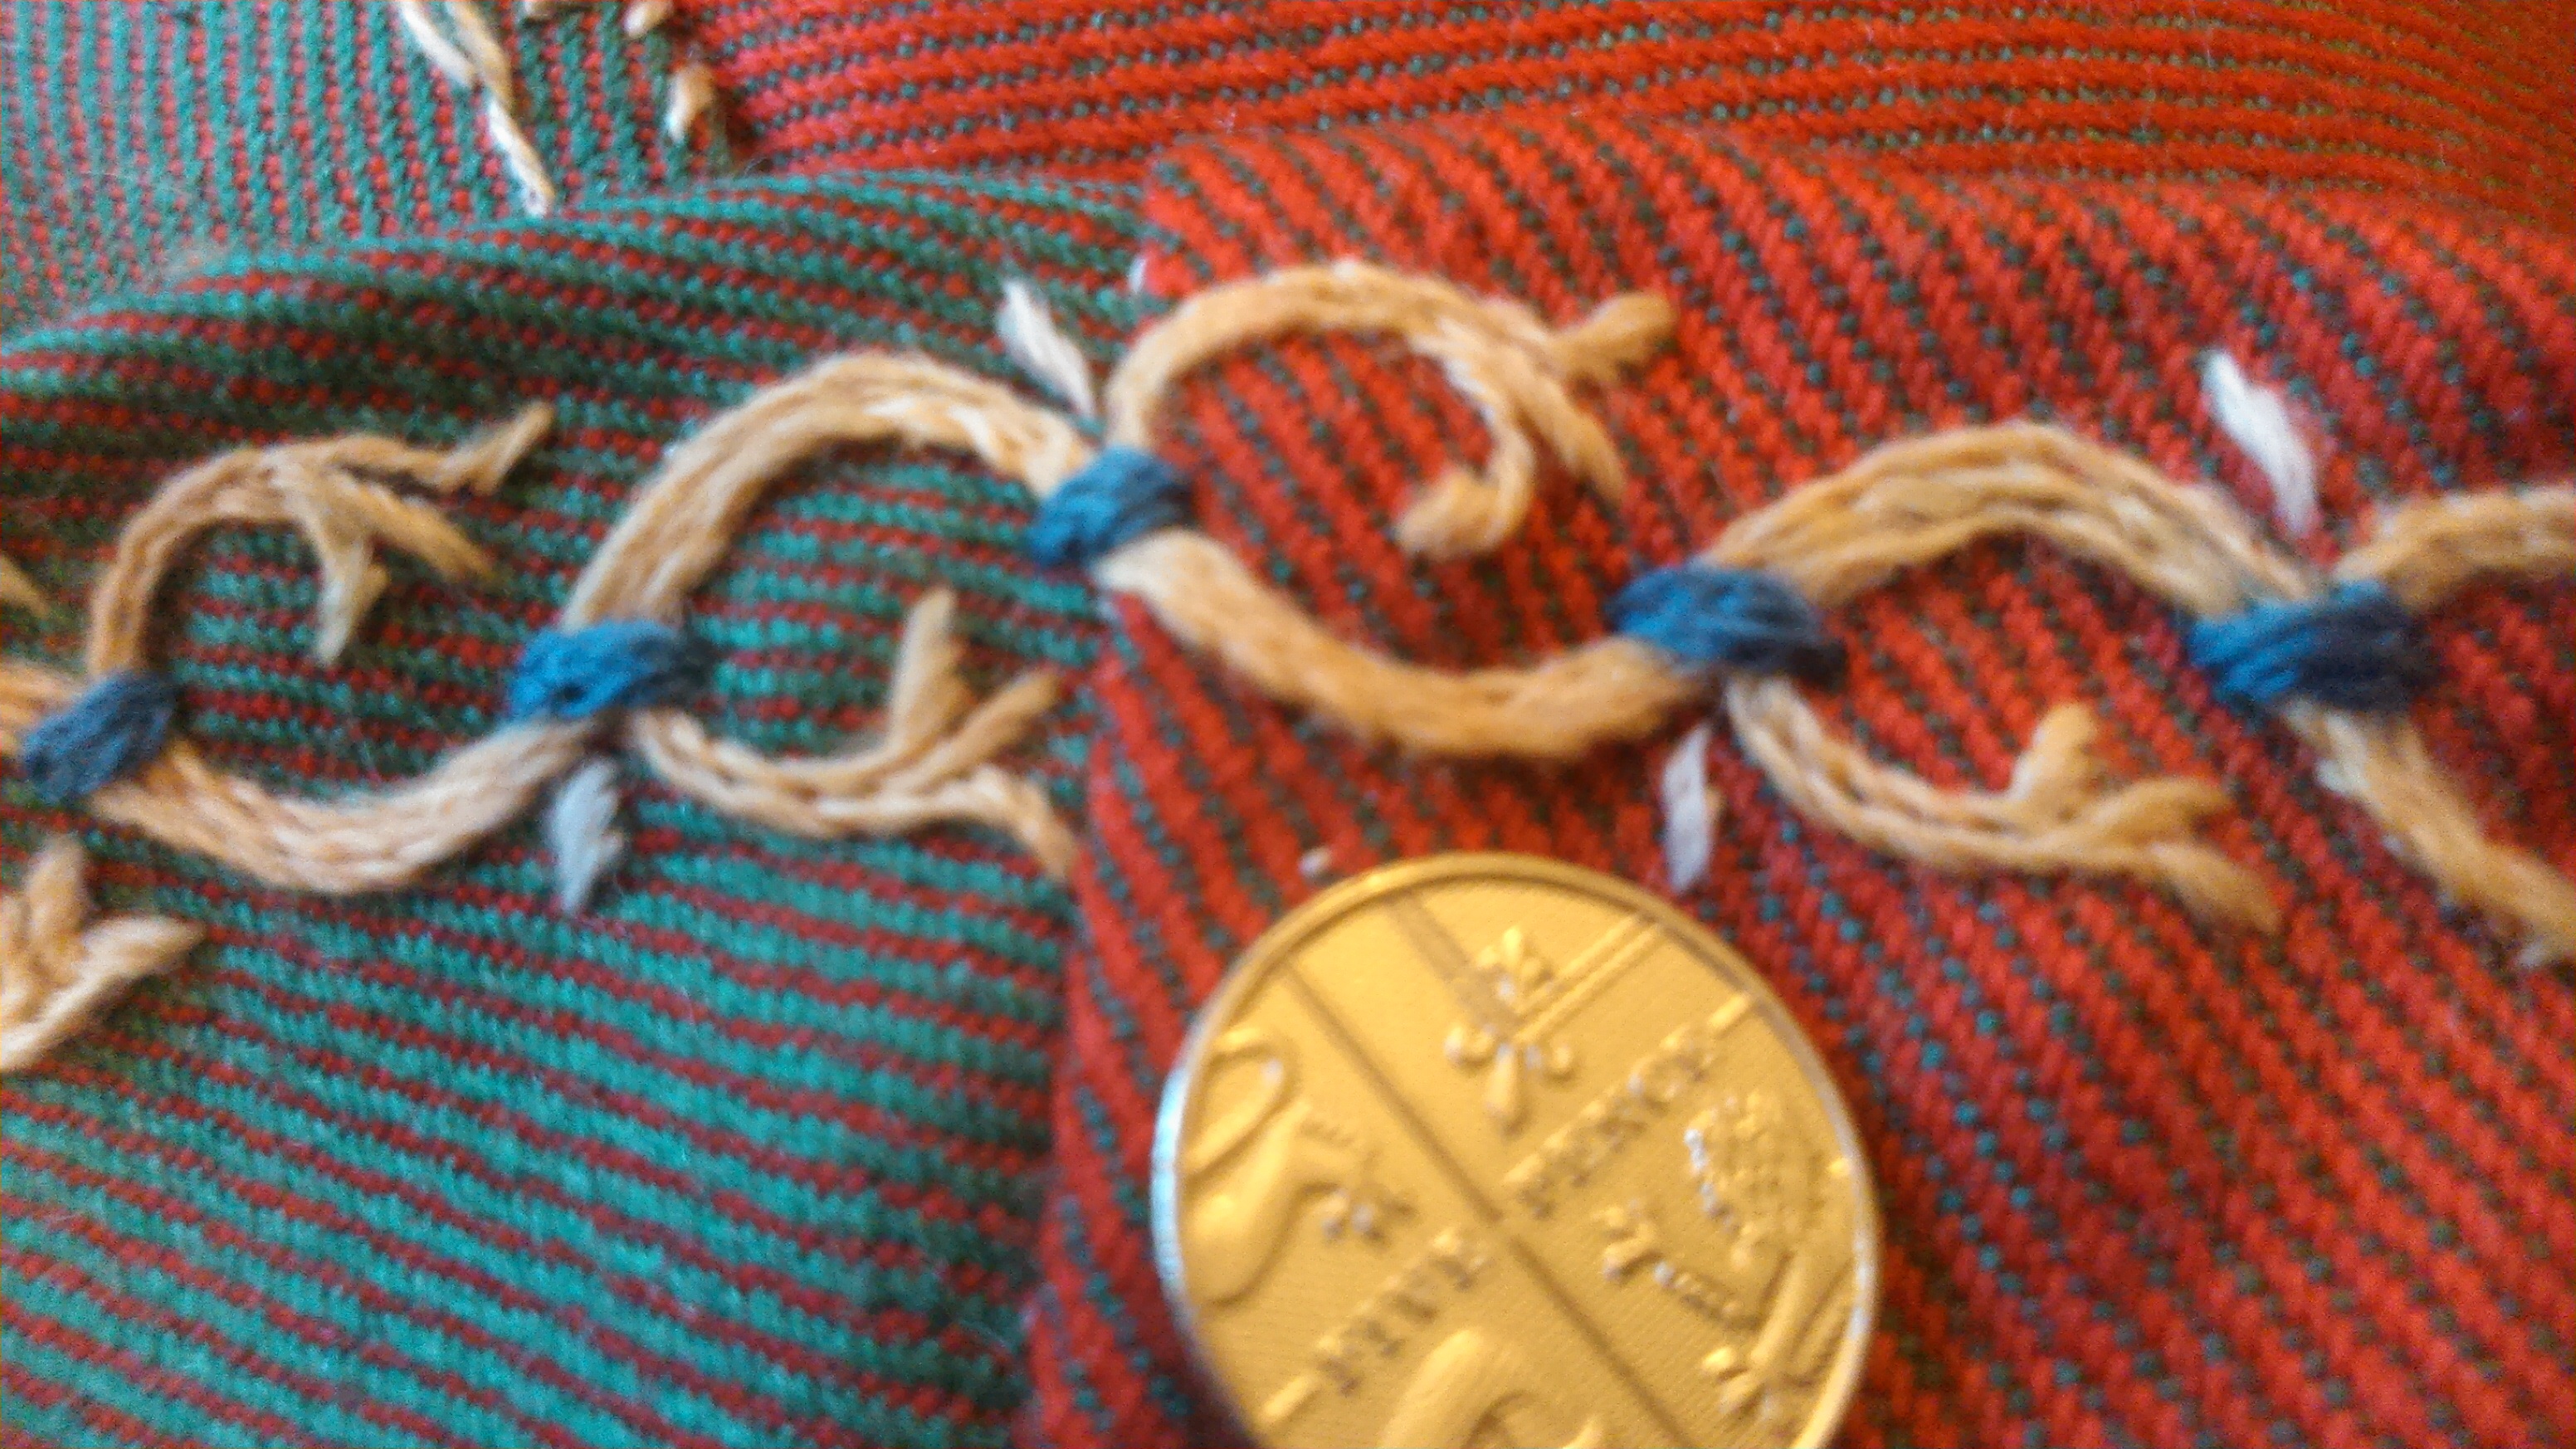
to avoid a gap, cross the two braids over each other.

Sorry that ones blurry, by the time I realised it was too late to do anything about it.
sew the braids along the seam with a simple whip stitch.

When you get to the tassel at the corner, untwist the cord and push the braid through – as soon as you release it it will twist up again to enclose the braid. This avoids the tassels lying unevenly to one side of the braid.

Once you get to the top of the seam, anchor the braid firmly, then loop it over and anchor the end on the inside seam. An average length fingerloop braid will give a loop of a few inches, which may seem short, but a shortish loop is preferable because if you make longer loops the purse will be able to twist on it’s mooring and you’ll end up having to untangle it every time you want to get in.

Next slip the lining inside. Fold down the top so it sits just beneath the top tubular seam and whip stitch around. If you’ve used an interlining you will have to carefully fold your linings into each other so that the inner lining doesn’t leave a shadow on the outside.
i find it virtually impossible to cut a lining that fits exactly, as the ratios of the fabric shift as you slide them together. As long as the lining is slightly too big you’re ok though, and you won’t even notice a tiny gather in the lining.

Finally thread the drawstrings. Two works best, threaded from opposite ends so that opening and closing the purse is easier – a single drawstring is much harder to manage. I’ve used my demo braid for the second string so you can see what I mean.

If you wish you can sew even more tassels onto the knotted ends of the drawstrings ( make then without a twisted header and use a long thread in place of the twist, you can then sew then directly) however, if you do this accept that no matter how firmly you sew them into place you will inevitably loose at least one drawstring tassel.
Now, nobody I like enough to give a present this fancy to would want this for Christmas. It’s a bit girly for john, and nobody else either lacks a present or does medieval stuff…spare purse for me, then.


What have you done to your hand? Looks sore.
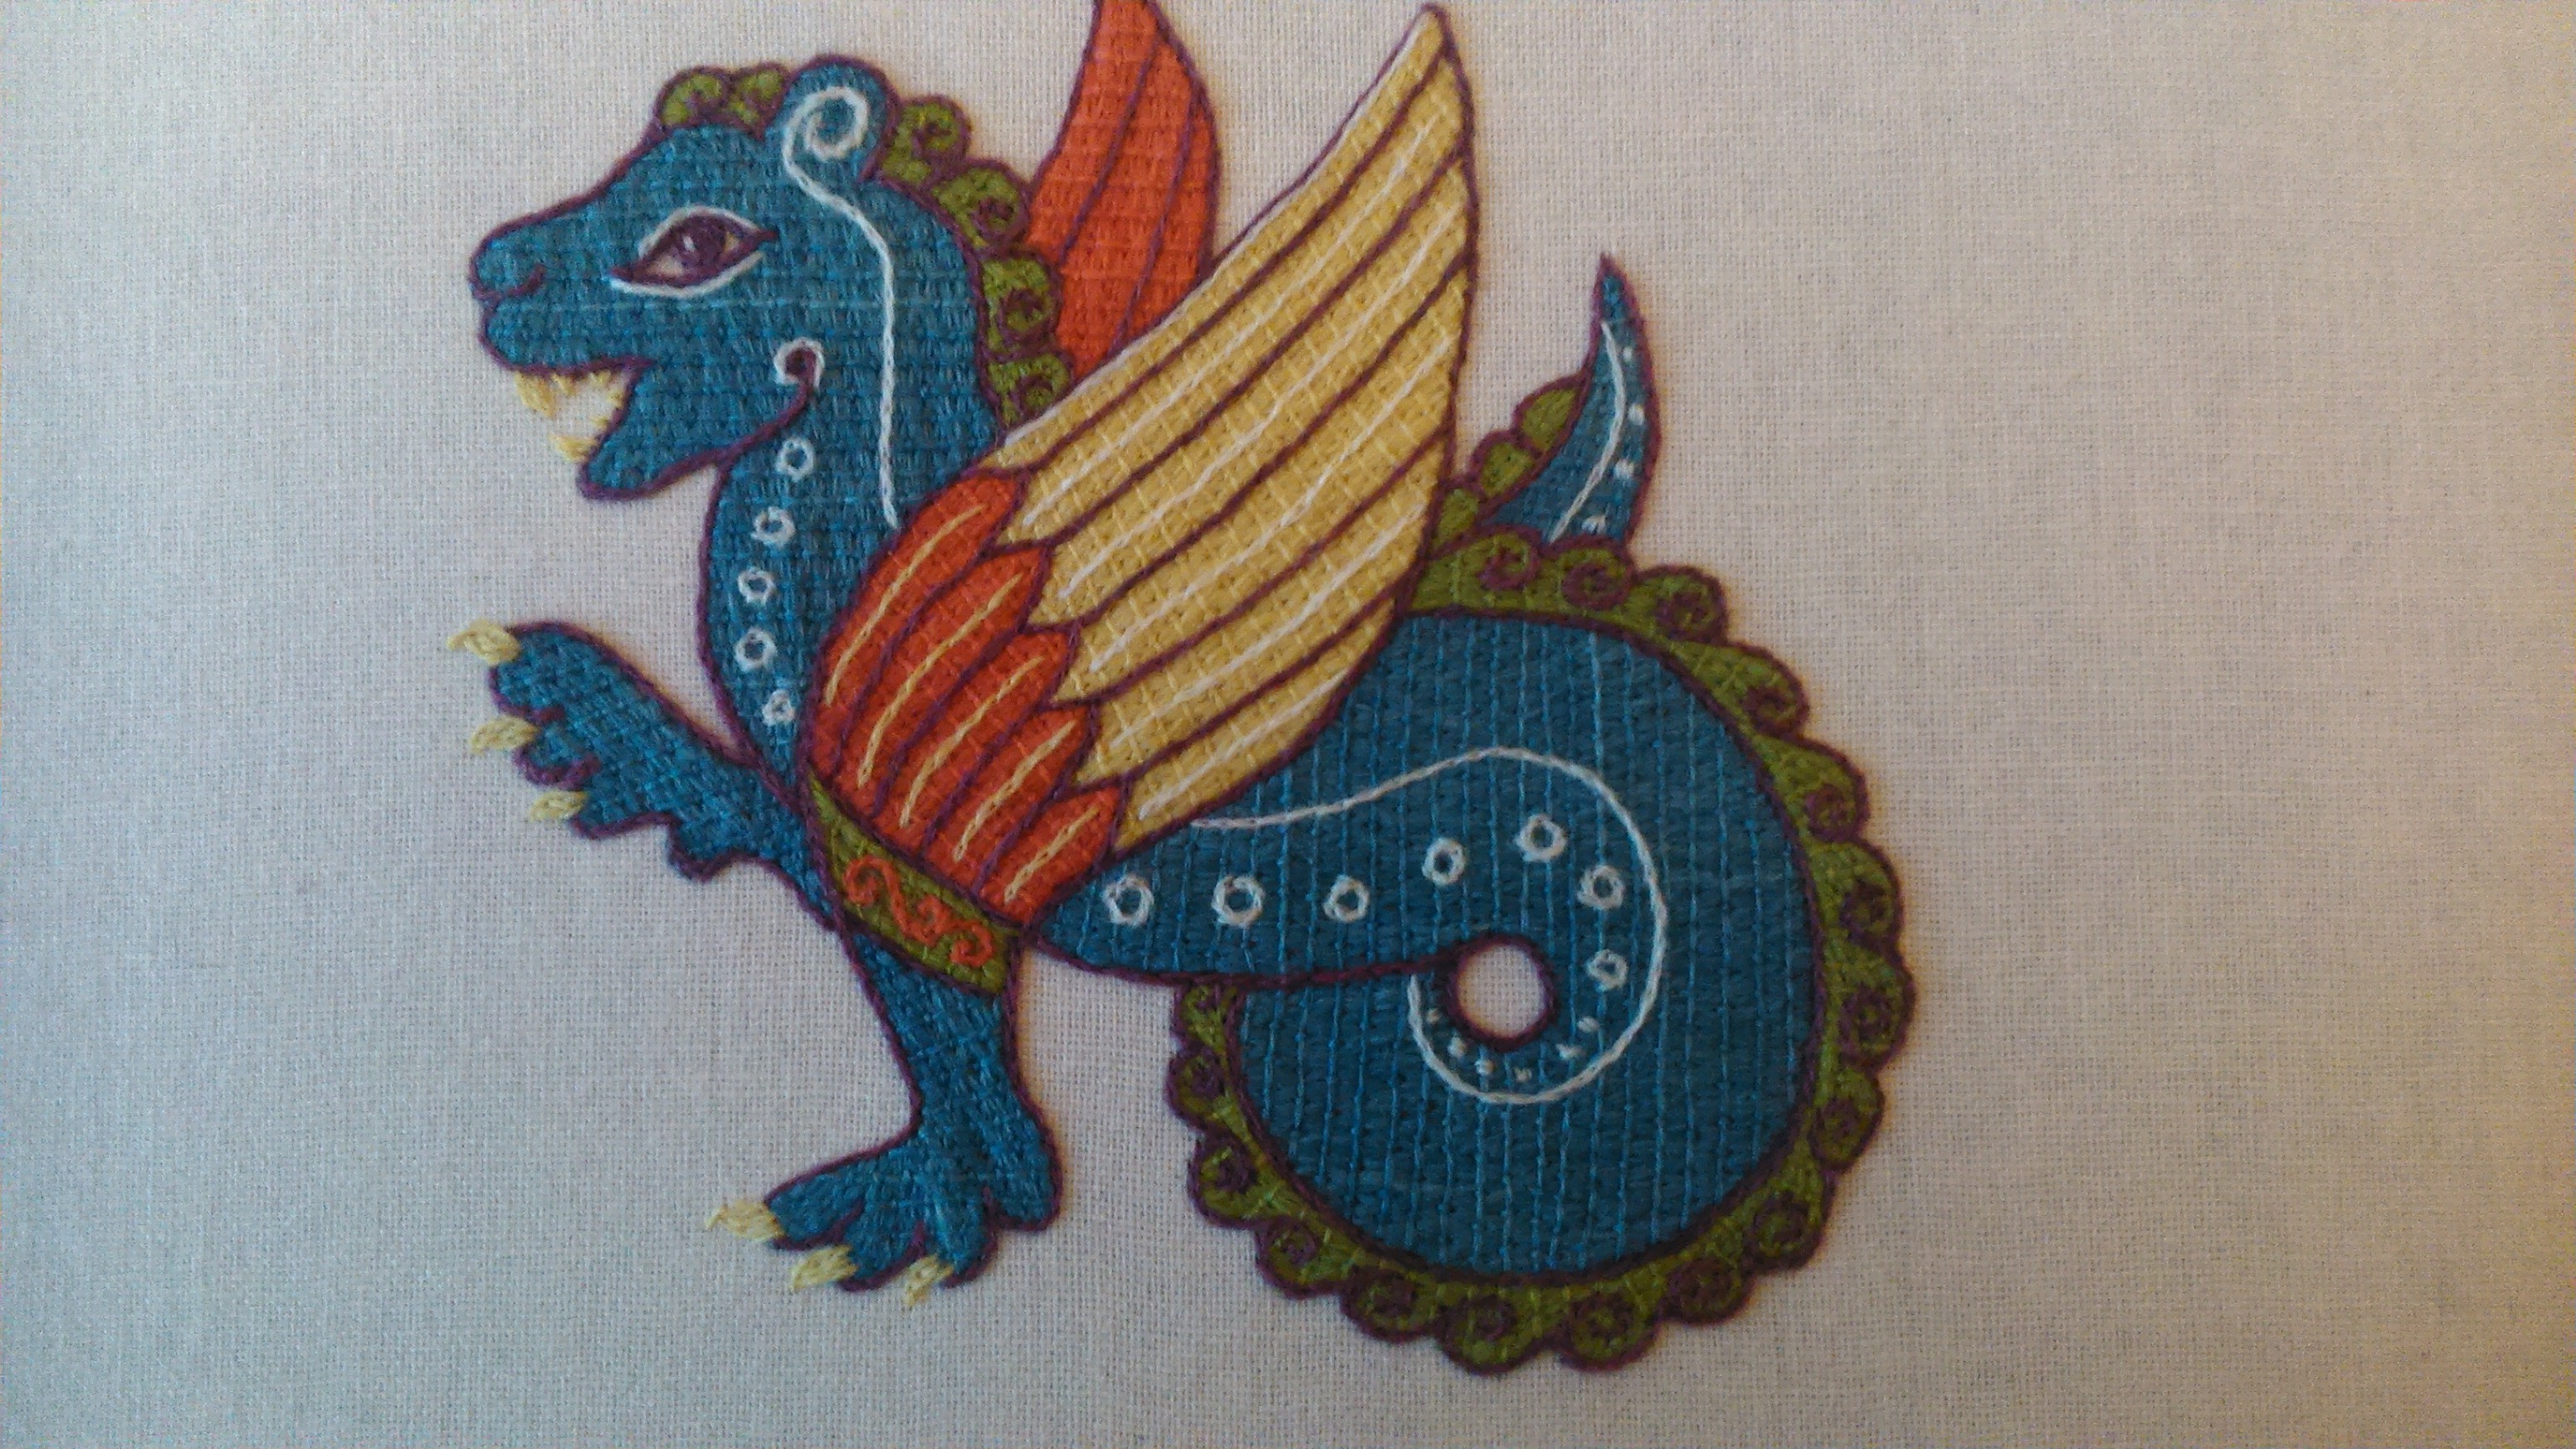
I had better hurry up and finish my leopard. I know I can make braids and tassels quite quickly so that part will be a doddle. Thanks for the stitch along idea, its such fun.
Hideous, isn’t it? I burned it on the oven a couple go weeks ago, but at least it’s stooped itching.
This bit is relatively quick, so why I haven’t sewn the silk purse I made bits for two years ago together yet is beyond me.
I was thinking it might be nice to do something next year, but am trying to think what
I wonder how soon we’ll see some of the purses finished on the Flickr group?
Thank you for your hard work in doing all the step-by-step instructions.
And thank you for doing the flickr
I’m not sure whether I’m going to turn mine into a purse after all, but when I’ve finished the Unicorn and the Swan I might well end up with two purses!
You can never have too many purses, accessorise,accessorise, accessorise!
The hardest bit of these has been the braids. If I’m honest, I’m about to give up and make a different type of cord. I can’t keep track of my fingers! This is probably why I never got away with knitting.
I also think I’ll turn the panels – which I’m pleased with – into a cushion cover and will go for tassels at the corner.
If you are thinking of any more stitchalongs, how about something with some goldwork in?
Thanks for the inspiration!
I know what you mean about the braids, fingerloop isn’t my favourite thing either. Twisted cords work well and cushion will be lovely. I want pics.
I was thinking of doing an annual stitchalong, but inspiration has plenty of time to strike yet
[…] And the final part wherein all is assembled […]
Stitchalong wrap- up | opusanglicanum said this on December 11, 2014 at 8:55 am |